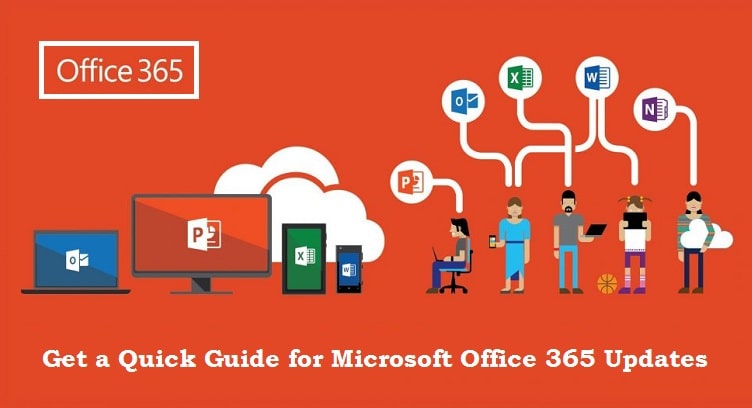
How to Install Microsoft Office 365 Updates?
Microsoft Office 365 is a cloud-based application proffering users to manage Word, Excel, PowerPoint, OneNote, Outlook, Publisher, and Lync. More interestingly, the Office apps can be accessed on any of the devices like your PC, Mac, or tablet. With a subscription license, the program may use a maximum limit of five PCs, Macs, or Tablets at one time. However, to keep your programs up-to-date and running seamlessly, Microsoft Office 365 Updates are extremely necessary to be done. For optimum performance, we really need the latest version of the app. Therefore, whenever any update is available, immediately update it. In this post, we discuss what actions should be taken for updating Office 365 application on Windows or Mac computers. Thus, read and learn!

How to know for any Office 365 Updates are Available?
Before looking at the several instructions to install updates, give a glimpse of the ways to check for available updates. Here’s how to check for Office 365 Updates:
- Open any Office 365 application such as Word, Excel, or PowerPoint on your Windows PC.
- Now, go to the “File” menu.
- Afterward, place a click on “Account” or “Office Account”. By doing so a Product Information window will open. You have to click on the “Update Options” tab next to Office updates.
- From the appeared-list of options, click “Update Now”.
- Microsoft Office thereafter starts checking for any updates. If updates are available, then they will be downloaded and installed automatically.
Also Helpful: Microsoft Office 365 Support Contact Guide
How to Activate Automatic Updates for MS Office 365?
Automatic updates for your Microsoft Office 365 application must be enabled by default. To check whether it is enabled or not, you need to perform the below-noted steps:
- First, open any Office apps on your system.
- Then, navigate to File –> Account in any Word, Excel, or PowerPoint.
- Under Office updates, check for the statement “Updates are automatically downloaded and installed” whether it is present or not. If it isn’t shown, then it means the automatic updates are not enabled at all. So, you need to make it enable first, here’s how:
- Click on Update Options –> Enable Updates.
How to Update Office 365?
For the time being, it is highly required to Update Office 365. Especially when you want to access any Office app more flawlessly and effort-freely, updating is crucial. However, you can install the MS Office 365 Updates either manually or using automated software.
Instructive Methods for Microsoft Office 365 Updates
In the below section, we will lead you How to Update Office 365 manually or via using automated software. So, despite wasting your quality time, take a brief glance at the beneath mentioned guidelines. Let’s follow:
Method 1: Ways to Install Microsoft Office 365 Updates Manually
There are generally three different ways in order to install Office 365 Updates manually. All of them are described separately. Learn:
Way 1: Using Manual Steps to Install Office 365 Updates
Go through the following steps:
- In the very beginning steps, you need to launch an Office app which you want to update.
- Thereafter, open a Blank document.
- Then, navigate to the “File” tab.
- From the listed option, search for the “Account” tab.
- Once you find it, give an instant click on “Account”.
- Now, place a tap on “Update” Options from the drop-down menu.
- And then click the “Update Now” link to install the update of the chosen app.
- Thus, finally, the office app will begin to be updated with the latest release.
Way 2: Enabling Updates to Install Office 365 Updates
This procedure can only be taken when one is unable to find the Update Now tab. Here’s how to do so:
- Open the Office app that you need to update.
- Now, open a blank document.
- Then, go to the “File” menu.
- Click on the “Account” option which is appeared on the left.
- In the next step, you’ll find the “Update Options” from the drop-down menu.
- Give a single click on it and thereafter select the “Enable Updates” option.
- After clicking on the “Enable Updates” option, you can see the “Update Now” option under the Update Options.
- So, just follow the steps mentioned under the first method and install the available Office 365 Updates.
Way 3: Check for the Latest Updates of Office 365
Here’s the right procedure in terms of checking for the latest updates of Office 365, Just follow one-by-one noted directives:
- Open an Office app that you want to update.
- Open a Blank document.
- Click on the “File” menu.
- From the left, select the “Account” option and then hit on it.
- You’ll thereafter find About (Office app name). This section provides you complete information on the current version that you’re using.
- If the specified version matches with the version found on the Office support website, it means the app is up-to-date.
Method 2: Ways to Install Microsoft Office 365 Updates Automatically
With the increasing rate of virus attacks, it’s quite tedious to keep all the systems in your network upgraded regularly. But when using automated software, the work becomes somehow possible and easy. However, Patch Manager Plus is famous user-friendly software providing Automate Patch Deployment features. Such an amazing feature is aimed to cover all of your business requirements in a very short span. Furthermore, this patching tool proffers flexible deployment policies, and also one can customize and configure with the given options. You can choose when to reboot/shutdown, decide when to skip deployment, and many more. Thus, at the end, you can tweak every minute detail to install Office 365 Updates exactly the way you want. Now, learn how APD works:
- To create an APD task, first, log in to the Patch Manager Plus console.
- Thereafter, go to the “Deployment” tab.
- Click “Automate Patch Deployment” which is listed under Deployment.
- To automate an installation update task, click on “Automate Task”.
- Thereafter, select the platform which you want to deploy.
- After selecting the platform, you need to identify the required details for automating the deployment task. Provide a suitable name and accurate description for the APD task that you’re creating.
- In the end, click the “Save” button. Congratulations! Your APD task has been created.
- Now, you can patch MS Office 365 Updates With such an automated patching tool, there is no need to check for updates regularly.
Also Read: How to Activate Office 365 using Product Key?
Avail 24/7 Online Email Support for More Info
Do you need additional info for your MS Office 365 Updates? If so, feel free to contact our top-quality Email Support team. They are well-trained and certified, so you will get a satisfactory answer from them. Dial the 24/7 Online Support Number to directly communicate with the qualified technician.