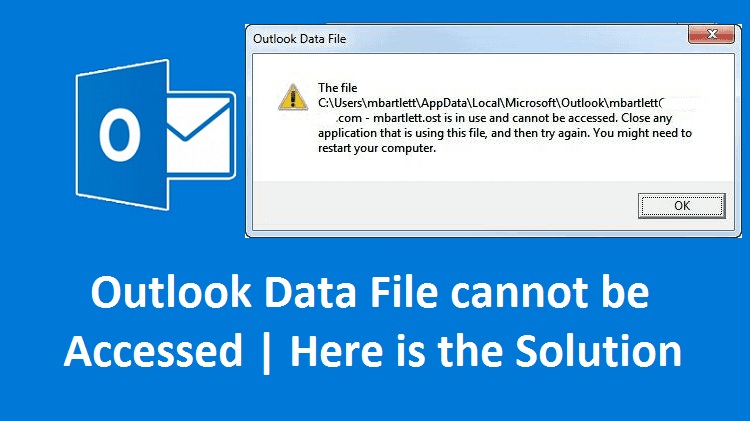
Outlook Data File Cannot Be Accessed | Here is the Solution
MS Outlook is one of the most popular emailing programs used by various people worldwide. However, this reason cannot stop the technical glitches in the MS Outlook email. One such problem the users face is the Outlook data file cannot be accessed, and it appears along with a cryptic error code 0x8004010F. The issue generally occurs due to faulty synchronization of the MS Outlook and Exchange mailbox, which doesn’t allow the users not to access the Outlook data file. Other reasons include:
- Damaged OST files.
- Misconfigured MS Outlook profile.
- OST files save in a different location.
All the mailbox data is stored in OST files, an abbreviation for Offline Storage Table. The damaged OST files can also cause Outlook data file errors. The reason for damage could be malware or virus intrusion, forced shutdown, etc. And this problem results in an error message 0x8004010F: Unable to access Outlook data files. To help you resolve the error, we have prepared this 7 steps guide, which covers the process to create a new Outlook profile, repairing Outlook, moving the data files, and much more. Let’s start and get access to the Outlook data file.
Read Also – Why Outlook Not Updating Inbox Automatically
Fix Outlook Data File Cannot Be Accessed Error
Follow the steps in this section to fix the Outlook data file error. Begin from step 1 and go on until the end of the article. Do not skip the process to eliminate the problem.
Step 1: Creating The New MS Outlook Profile
- Right-click the Windows icon and choose the Settings
- A new window opens, click Accounts.
- Now hit the Email & Account icon on the left side panel.
- Click the Add an Account
- Further, you will have to click the E-mail Account
- Put in your account information like profile name and other credentials.
- Click Next and click Finish to create your new Outlook account.
The above process will automatically create the IMAP account. If the server does not support it, then consider configuring the email account manually. Before proceeding further, you need to locate the Outlook data file.
Locate The Outlook Data File
- Search and open the Control Panel on your PC.
- Choose the User Accounts
- Click Mail.
- Under the Mail Setup window, click Show Profiles.
- Choose your Outlook profile and hit the Properties
- Now click the Data Files option to open the Account Settings
- Again click Data Files and take note of the name and location of the data file.
- Now apply the manual configuration.
Manually Configure The IMAP Outlook Account
- Open the Control Panel
- Click User Accounts and hit the option Mail.
- Now you need to choose Add.
- Type the Profile name and hit Ok.
- Under the Add New Account window, you need to click Manually configure server settings or additional server types.
- To proceed further, click Next.
- The Choose Service Dialogue box pops up, here click Internet E-Mail and hit Next.
- Under the Internet Email window, type the Outlook account details.
- Choose the Existing Outlook data file under Deliver new message to section.
- Now click Browse and select the data file.
- Finally, click Next.
- These steps will create a new Outlook profile.
Step 2: Move The Data Files
Here is another trick to resolve the Outlook data file cannot be accessed issue. All you need to do is move the data file to another location. And after that, bring it back to the original location. Now restart your computer, and the data file error resolves.
Step 3: Repair The Outlook
- Firstly, you will need to open the Control Panel on your computer.
- Click Mail on the left side panel.
- Choose the option Repair.
- In some time, this process will repair the Outlook.
Step 4: Rectify The Incorrect Delivery Location
- Make sure the Outlook email stores in Personal Folder
- If it doesn’t, then change the storage settings.
- Open the Account Settings in Outlook email.
- Choose Email Accounts.
- Click Change Location.
- Now manually enter the correct storage location.
- Following these steps will resolve the error message 0x8004010F: Outlook data file cannot be accessed.
Step 5: Specify The Outlook Inbox Folder
- Click the File
- Select the Account Settings
- Choose the Change Folder
- Locate the folder and click the Plus symbol adjacent to it.
- Select Inbox and click the Ok
- Now you can close the Account Settings
- Click the Send and Receive button to fix the Outlook data file error.
Step 6: Create A New Pst File
To resolve the problem, you can create a new pst file. If you want to preserve the data, then create a copy of the previous pst file. Now start following these steps:
- Click the File
- Chose Account Settings and select the desired account.
- Click the option Change Folder.
- Now select the Create new Outlook data file.
- Type the desired name and click the Plus symbol, choose Inbox.
- Now the new file location path will be added under the Change Folder
Step 7: Repair The Outlook Data File
Then Outlook data file cannot be accessed error message also appears due to a corrupted Outlook data file. Here is how to repair the file.
- Firstly, navigate to the Outlook installation directory.
- Now run the exe file.
- Once the program starts, you need to type the name of the .pst file under the field Enter the name of the file you want to scan.
- Alternatively, you can manually locate the file by clicking Browse.
- Hit the Start
- Now the system starts scanning to fix Outlook data files.
Read Also – Why Outlook Calendar not Showing Appointments
Get In touch with Email Support & Get assistance from experts
The Outlook data file cannot be accessed problem will lock you out from reading or sending an important email. But we are sure that after following this 7-step guide, you will regain access to the data files and mailbox. If you still face problems in understanding the steps or challenges in getting the required results, then contact our Email Support Number. We have an expert team available for you 24/7 and help you eliminate any issue in Outlook emailing program.