How to Create an Email Group in Outlook? Find the Exact Steps
If you are one of those who regularly send emails to a set or group of people, creating an email group of all these people certainly makes sense. It is especially useful for working professionals who would like to send emails to a group of individuals who may be in their project team. So, knowing how to create an email group in Outlook is essential. Through the contact group in Microsoft Outlook, you can effectively manage contact lists with a group of personal contacts. You can also manage email groups with numerous team members. By creating a group, you’ll eliminate the need for you to manually add every email address each time you write group emails.
Read Also – outlook won’t open
How to Create an Email Group in Outlook?
Making an email group or a distribution list in Outlook is easy. Given below are the steps for doing so in Windows and Mac operating systems.
Creating an email group in Windows
To know how to make an email group in Outlook in the Windows platform, first open Outlook. After that, follow these points.
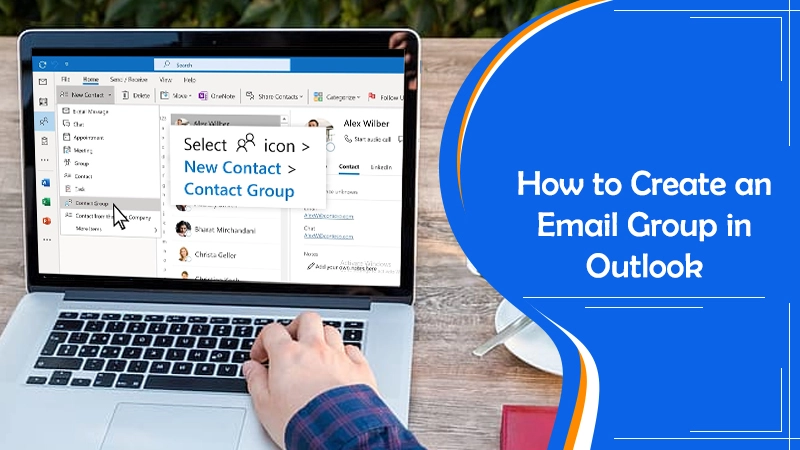
- Head over to the navigation pane and tap the ‘People’ icon. It’s a tiny icon at the bottom-left of the screen.
- Now under ‘My Contacts,’ choose the folder where you desire to save the contact group. To avoid confusion, save it in the ‘Contacts’ folder.
- Now choose ‘New Contact Group.’ It is in the ‘Home’ tab.
- After that, set a group name for the contact group. Do it in the field of name.
- Tap ‘Add Members.’ Select to add member emails ‘From Outlook Contacts’ and ‘From Address Book.’ You can also select to add member emails from ‘Make a new contact.’ The meaning of these three options are as follows:
- From Address Book – It has the email addresses of employees in your organization.
- From Outlook Contacts – It has the main bunch of external contacts you’ve kept in the MS Outlook contacts folder.
- Make a new contact – Through this option, you can create a fresh contact and add it to the list.
- Note that you can add various people using your organization’s global address list to the contact group. Note that if you want to add member email IDs again to the list of contacts, choose the list and tap ‘Add Members.’
- Now, after choosing members and completing the setting of the contact group, tap ‘Save & Close.’ You’ll notice that the Members box will vanish.
- After clicking ‘Save’, test the group. For it, send a fresh email to the group contact list.
- Do you desire to add an Outlook distribution list to the contacts folder on Outlook? You can do so via the folder pane.
Creating an email group in Mac
Mac device owners can also create a contact group. Follow these points to know how to create contact group in Outlook.
- Launch Outlook and head over to the navigation bar. Now click ‘People.’
- Choose ‘Home’ followed by ‘New Contact List’ to make a new group.
- You will see a contact group window popping up. Set a group name for the list of contact email IDs.
- Choose ‘Add.’ It’s under the navigation bar. Then select members through their email IDs. It will allow you to add contacts to the list.
- Keep adding people to the group via the members box.
- It is also possible to add a current list of contact emails to the new list you are creating.
- After selecting members and completing the contact list, hit ‘Save & Close.’ The members box will instantly disappear. Now you can send a new email to all the people in the group for testing.
Read Also – Outlook Search Not Working
Sending an Email to a Contact Group in Microsoft Outlook
By now, you must be familiar with how to make a group in Outlook. Now, it’s time to learn how to send emails to the email group you’ve created. The process is very simple. Follow the steps below.
- Launch a new email message in Outlook.
- Create its body and subject.
- In the ‘To’ field, tap the group ID.
- When you see the prompt appearing, tap it, and hit ‘Send.’ Your email will go to the inbox of every member in the group.
Read Also – outlook stuck on loading profile
Final Words
Now you know how to create an email group in Outlook. Windows and Mac users can follow the stepwise instructions above to successfully create the group and start sending messages to all the members at a single time. If you need more help with understanding the process, feel free to contact technical support services.